.jpg) (Image via
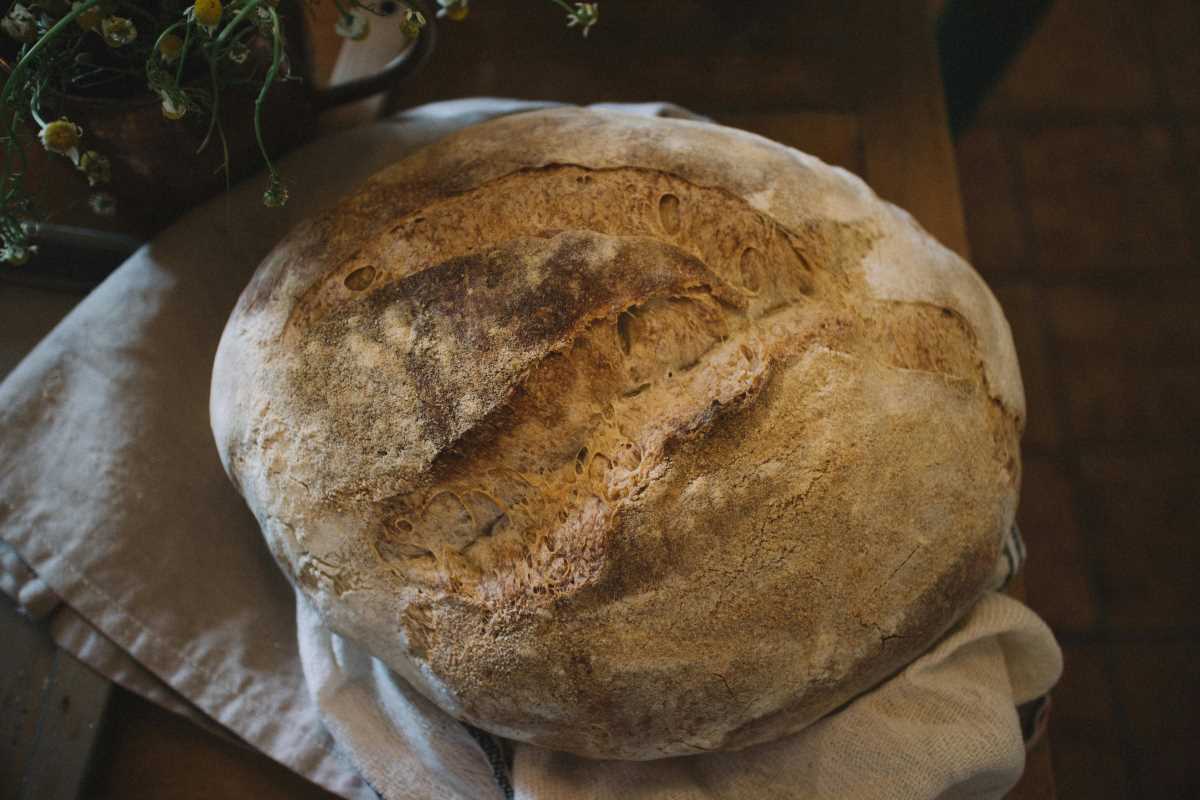
(Image viaCreating a loaf with a soft, airy crumb and a crisp, golden crust fills any kitchen with excitement and satisfaction. You can achieve this delicious result without advanced training or expensive equipment. Using basic pantry staples, straightforward directions, and a sense of curiosity, anyone can bake gluten-free bread that stands up to the highest bakery standards. When you decide to Bake Gluten-Free Bread, learning about your ingredients and paying attention to your baking environment will help you succeed and enjoy fresh, homemade bread every time.
Understanding gluten-free flours
- Rice Flour: Light in texture, it contributes a fine crumb but can feel gritty if used alone.
- Tapioca Starch: Adds chewiness and helps with crust browning, though it may weaken structure if overused.
- Almond Flour: Imparts moisture and a nutty flavor; pair it with lighter flours to avoid dense loaves.
- Oat Flour: Boosts fiber and tenderness. Choose certified gluten-free oats to prevent contamination.
- Binders (Xanthan Gum or Guar Gum): Mimic gluten’s elasticity. Typically, 1 teaspoon per cup of flour mix prevents crumbly bread.
Mixing flours allows you to balance taste and texture. Start with a blend that uses at least two light flours and one starch, then adjust based on your oven’s performance and local humidity. Keep notes on how each loaf responds to changes—this journal becomes your best resource over time.
Essential tools and ingredients
- Accurate Scale: Measuring by weight ensures consistency far more than cups.
- Loaf Pan or Dutch Oven: A heavy-duty pan promotes uniform heating. Preheating helps the crust develop quickly.
- Stand Mixer or Hand Mixer: Eases thorough blending, especially with sticky batters that need aeration.
- Instant Yeast: Provides reliable rise and faster proof than active dry yeast.
- Thermometer: Checks that the internal temperature reaches around 205°F (96°C), indicating a fully baked loaf.
Select ingredients that suit your budget and pantry. For example, Bob’s Red Mill offers an all-purpose gluten-free blend, while King Arthur provides specialized flours. Compare labels to find products free from added sugars or unnecessary stabilizers.
Step-by-step baking process
- Activate yeast: Warm water (105–110°F/40–43°C) and a pinch of sugar wake up the yeast in about 5 minutes.
- Combine dry ingredients: Sift flours, starch, binders, and a pinch of salt for even distribution and to avoid clumps.
- Mix wet and dry: Pour water-yeast mixture, oil, and eggs (or flax eggs) into the dry mix. Beat on medium until the batter pulls away from bowl sides.
- First rise: Transfer to a greased bowl, cover with plastic wrap, and let it rest in a warm spot for 45–60 minutes. It should nearly double in volume.
- Shape and second rise: Gently shape the dough and place it in your pan. Allow another 30 minutes for the dough to puff slightly above the rim.
- Score and bake: Slash the top with a sharp blade. Bake at 425°F (220°C) for 15 minutes, then reduce to 375°F (190°C) and bake another 25–30 minutes.
- Cool thoroughly: Remove from pan and rest on a wire rack. Cutting too early releases steam that helps keep the crumb moist.
Watch the dough rather than the clock to determine rise times. A warm oven corner can speed up proofing, so rotate pans if needed. Patience in waiting improves flavor and structure.
Achieving the perfect crust
- Steam introduces shine: Place a small baking dish with hot water on the oven floor or mist the dough before loading it.
- High heat blast: Starting at a higher temperature jumpstarts crust formation. Reduce heat after the first 15 minutes to cook the interior gently.
- Egg wash or milk brushing: Lightly coat the surface for added shine and slight sweetness. Skip this if you want a rustic matte look.
- Cooling in the open air: Expose the crust to air on all sides to keep it crisp. Avoid wrapping until it fully cools.
Try different methods in successive bakes. You might discover that steam from a baking stone works best, or that a quick blast under the broiler for 30 seconds deepens color without burning.
Common mistakes and troubleshooting
Underproofing results in dense centers and flat loaves. If you see minimal volume increase, let the dough rest longer in a slightly warmer spot.
Overproofing causes the structure to collapse when the gluten-free network weakens. Watch for dough that peaks then flattens—bake immediately when it holds a gentle dome.
A gummy crumb often indicates insufficient bake time or too much moisture. Check temperature with a probe, and adjust water in the recipe by 5–10% on your next attempt.
Loose or cracking crust can occur if you do not distribute binders evenly. Ensure you thoroughly mix flours, starches, and gums before adding liquids.
Each loaf helps you refine your technique. Keep track of each variable—oven quirks, flour brands, proofing durations—and adapt your process for consistent, beautiful results.
Refine your gluten-free crust with small adjustments and share your results with other bakers. Each successful bake brings you closer to perfection, making the process enjoyable and rewarding.