.jpeg) (Image via
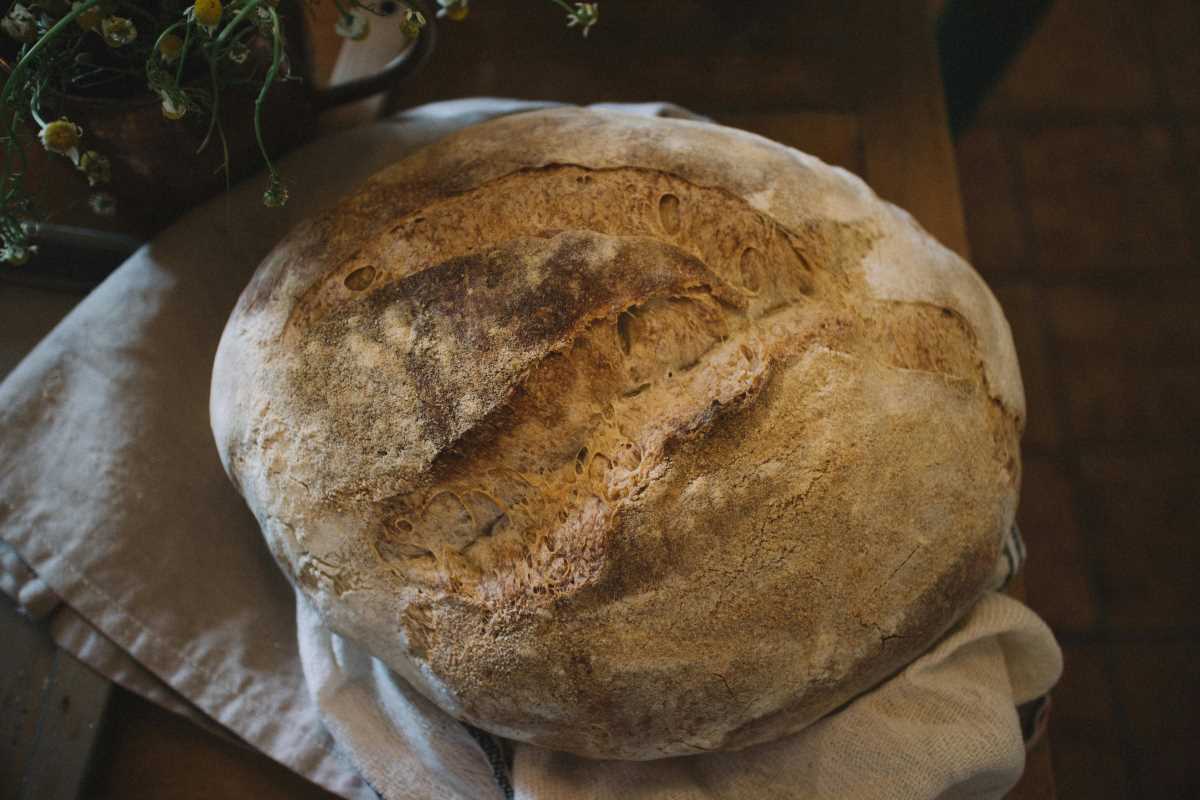
(Image viaFew culinary activities compare to the satisfaction and sensory delight of baking bread at home. The process fills your kitchen with inviting aromas and offers a tangible sense of accomplishment as you watch simple ingredients come together to form something truly special. Exploring various recipes and methods introduces you to traditions rooted in history and culture, making each loaf more meaningful. Starting with an easy recipe and some essential tools, you quickly discover how rewarding this practice can be. Every batch invites you to experiment and learn, turning your kitchen into a place of creativity and delicious surprises.
Starting out in the kitchen can feel both thrilling and a bit intimidating. When you mix just the right ingredients and give them time to transform, you not only create a delicious meal but also become part of an age-old tradition that spans cultures and generations.
Essential Tools and Ingredients
A well-equipped kitchen is the cornerstone of successful bread making. Gathering the right tools and quality ingredients helps ensure your efforts yield satisfying results every time. Choosing the best basics establishes a strong foundation to build your skills.
Below is a list of essential items to gather before you embark on your bread-making adventure:
- Mixing bowl: A sturdy bowl, preferably glass or stainless steel, to combine ingredients.
- Measuring cups and spoons: Accurate measurements contribute to consistent outcomes.
- Wooden spoon or spatula: For mixing without damaging your bowl or ingredients.
- A sturdy cutting board: Essential for kneading and transferring dough.
- Oven: A well-performing oven ensures even baking and a perfect crust.
- Basic ingredients: Flour, water, yeast, and salt form the core components for most recipes.
Core Steps in Making Bread
Every loaf of bread begins with a series of straightforward steps that blend science and art. Approaching the process systematically can turn uncertainty into a satisfying routine. Familiar steps build your confidence with each bake.
Here is a simple guide to the main stages of making bread:
- Mixing: Combine flour, water, yeast, and salt in a bowl until they form a shaggy dough. Each ingredient plays its part in creating structure and flavor.
- Kneading: Work the dough on a floured surface to develop gluten, which gives bread its texture. This step is both therapeutic and essential.
- First Rise: Place the kneaded dough in a greased bowl, cover it, and let it rest. This stage allows the yeast to ferment, developing flavor and volume.
- Shaping: Once doubled in size, shape your dough into loaves or rolls. This step marks the transition from raw dough to a potential masterpiece.
- Second Rise: Allow the shaped dough to rest again, ensuring it has a soft and airy structure when baked.
- Baking: Place the dough in a preheated oven. The heat transforms the soft dough into a crusty, aromatic loaf.
Common Mistakes to Watch Out For
Even seasoned home bakers encounter hurdles along the way. Recognizing common pitfalls can lead to a more enjoyable bread-making experience. Avoiding missteps saves time and reduces frustration when your dough does not behave as expected.
Many beginners make errors that can affect the final product. Inaccurate measurements, over-kneading, or letting the dough rise in a drafty location often result in dense or uneven loaves. Paying close attention to each step ensures that little mistakes do not derail your progress.
Tips for Baking Bread Successfully as a Beginner
Good bread making depends on attention to detail. Developing a routine that checks off each critical step will both boost confidence and produce better results. Trying small changes can help you discover techniques that work best in your personal kitchen setup.
For example, consider these practical tips: always ensure your yeast is fresh and active, and let your dough rest in a warm, stable environment. Experiment with different hydration levels until you find a texture that feels inviting under your hands. By keeping a close watch on timing and temperature, you can refine the process for a beautifully risen, perfectly textured loaf.
Discovering Traditional and International Bread Styles
Every culture has a rich history of bread making, with techniques and recipes passed down through generations. Exploring different bread styles can expand your skills and deepen your appreciation for culinary heritage. From the crisp baguettes of France to the hearty flatbreads of the Middle East, each style offers a new perspective on flavor and technique.
Trying out different bread techniques can inspire you to experiment with your own creations by adding unique ingredients or methods influenced by distant traditions.
Troubleshooting and Frequently Asked Questions
When you try something new, questions often come up. Addressing common concerns can help prevent mistakes and recurring issues in your bread-making process. Overcoming challenges builds resilience and helps you understand each technique better.
Consider these common concerns and their possible solutions:
- If your bread does not rise, check that your yeast is active and that the water used is at the right temperature—not too hot and not cold.
- When the dough appears too sticky or too dry, adjust the water or flour amounts gradually until you reach the right consistency.
- For a tough crust or dense interior, shorten or lengthen the kneading time based on the type of flour you use and the humidity in your environment.
- If the flavor seems lacking, try letting your dough rise a bit longer or add a small amount of natural sweetener to encourage yeast activity.
Your journey with home bread baking provides opportunities to explore, experiment, and improve a timeless skill. With each batch you make, your confidence grows as flavor and texture improve, turning simple ingredients into a satisfying culinary masterpiece.